

Pour Over Coffee for Beginners Made Simple
If you’ve ever wanted café-quality coffee at home but felt intimidated by cones, kettles, ratios, and brew jargon, this guide is for you. The good news: pour-over coffee is not complicated once you understand a few fundamentals. With the right setup, a repeatable method, and a little patience, your first cup can already taste cleaner, sweeter, and more expressive than most automatic drip coffee.
For beginners, the biggest challenges are usually the same: choosing the right gear, understanding grind size, knowing how hot the water should be, and figuring out how to pour without overthinking every movement. This guide breaks it all down in a simple, confidence-building way - while helping you create a brewing ritual that feels as beautiful as it tastes.
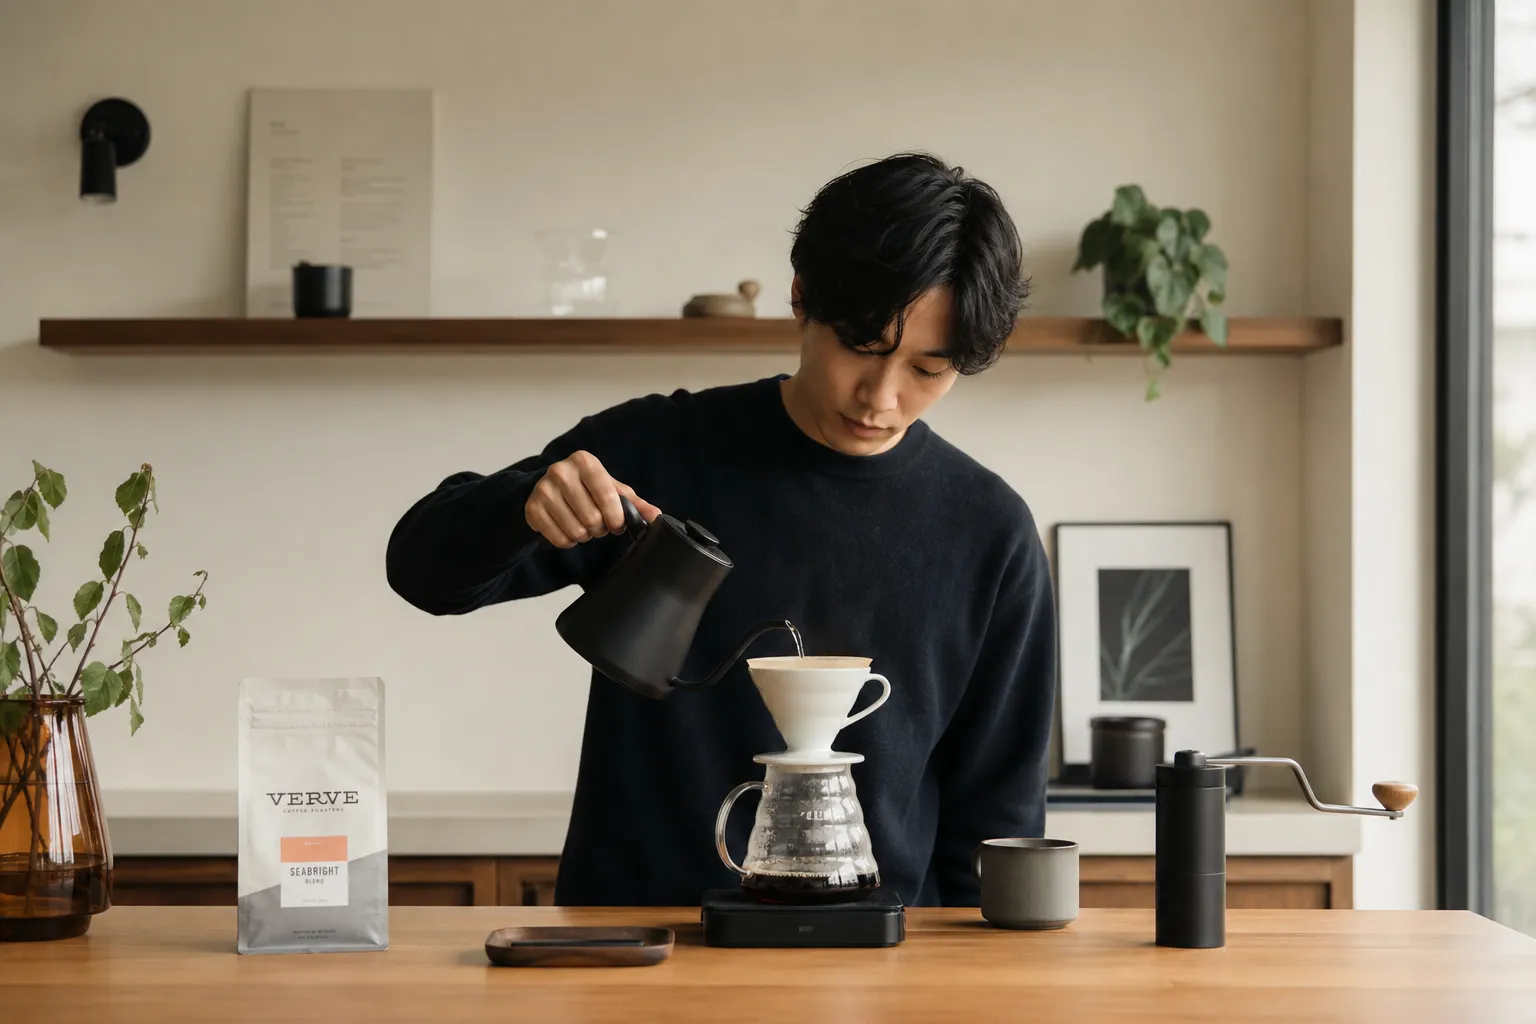
Why pour-over is worth learning
Pour-over brewing gives you something machines often can’t: control. You decide the water temperature, the pace of extraction, the saturation of the grounds, and the final strength in the cup. That control is what makes pour-over coffee such a favorite among home brewers and specialty coffee lovers.
It also turns coffee into more than a caffeine routine. It becomes a quiet ritual - intentional, tactile, and satisfying. That’s one reason design-forward equipment matters. A well-crafted gooseneck kettle doesn’t just look better on your counter; it makes precision pouring easier, more comfortable, and more consistent.
For home brewers who care about both performance and aesthetics, Cocinare brings those two worlds together beautifully: precision-focused electric kettles, refined materials, multiple collections to match different styles, and artistic limited-edition collaborations that make brewing feel personal.
What makes pour-over coffee different?
Unlike immersion methods like French press, pour-over sends water through the coffee bed in a controlled flow. That usually produces a cup with:
cleaner flavor clarity
brighter acidity
lighter body
more distinct tasting notes
This is especially rewarding if you’re brewing fresh specialty coffee and want to taste the fruit, floral, chocolate, or caramel notes more clearly.
The beginner gear you actually need
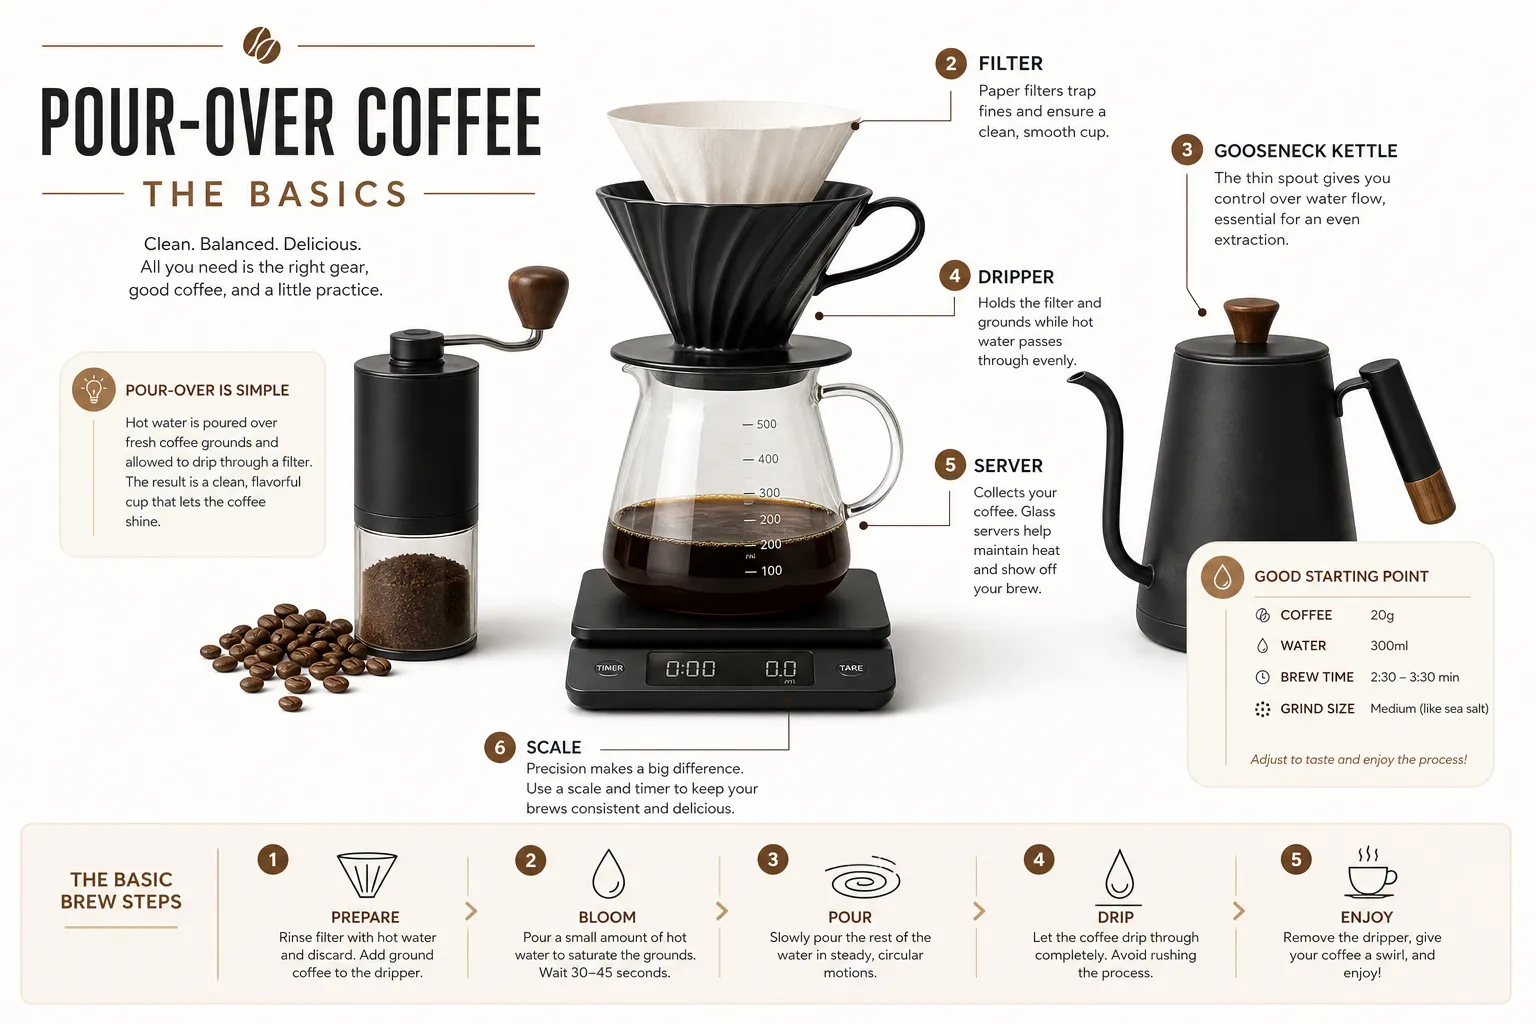
You do not need a professional bar setup to get started. Here’s the essential kit.
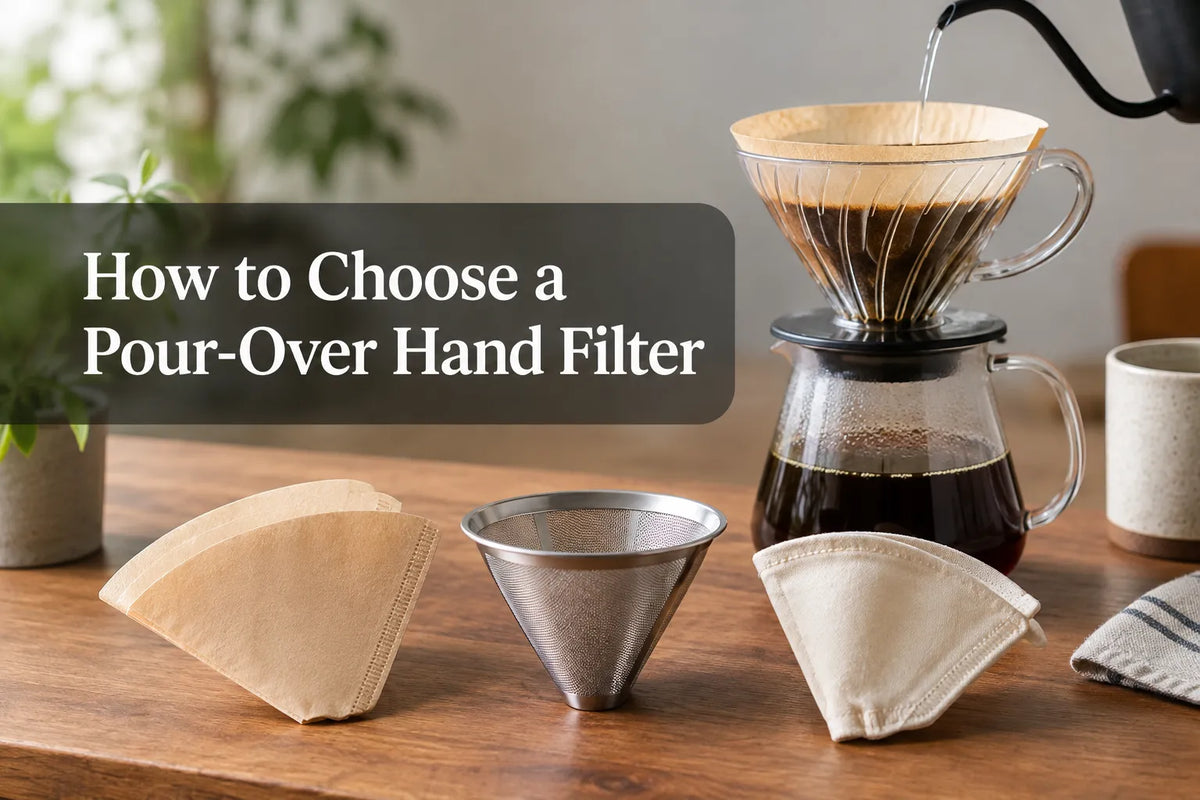
Essential gear checklist
Gear |
Why it matters |
Beginner verdict |
|---|---|---|
Dripper |
Holds the filter and grounds |
Must-have |
Paper filters |
Help create a clean cup |
Must-have |
Gooseneck kettle |
Gives precise pouring control |
Strongly recommended |
Burr grinder |
More even grind than blade grinders |
Strongly recommended |
Digital scale |
Keeps coffee-to-water ratio consistent |
Must-have |
Fresh coffee beans |
The biggest flavor upgrade |
Must-have |
Mug or server |
Catches brewed coffee |
Must-have |
The best beginner drippers
Two beginner-friendly choices stand out.
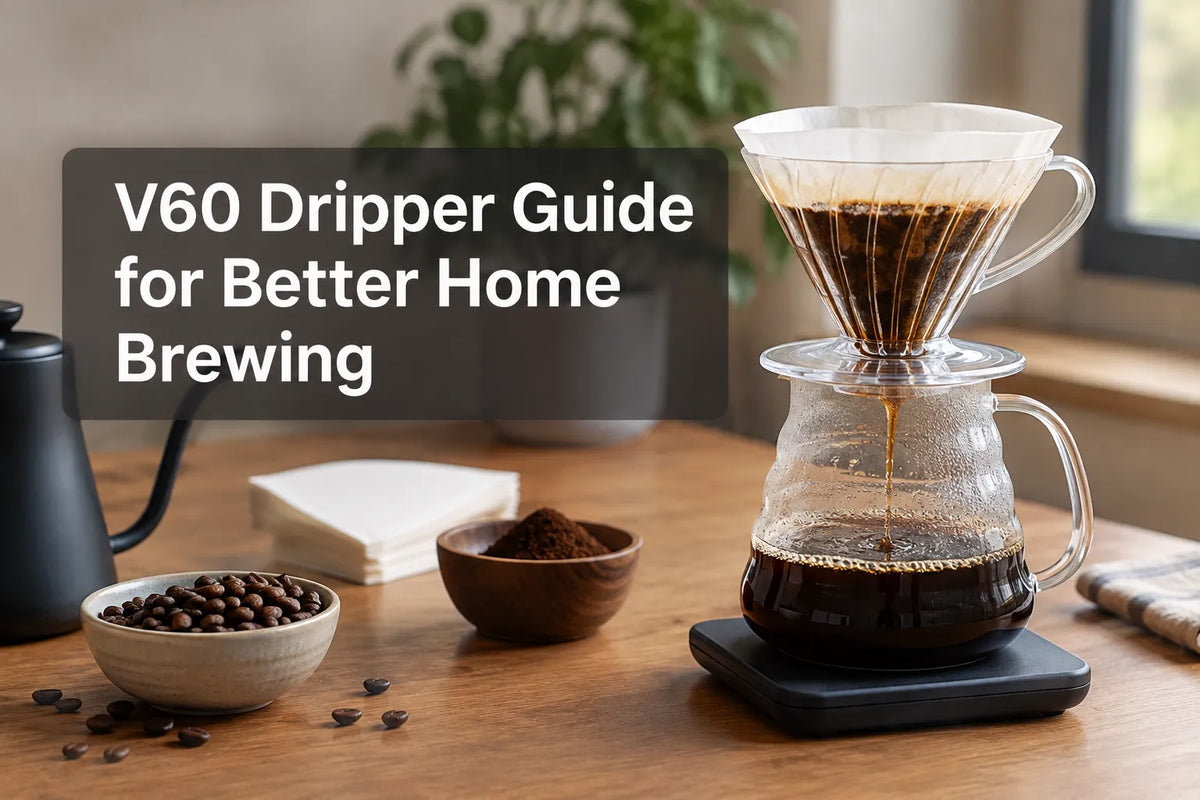
Hario V60
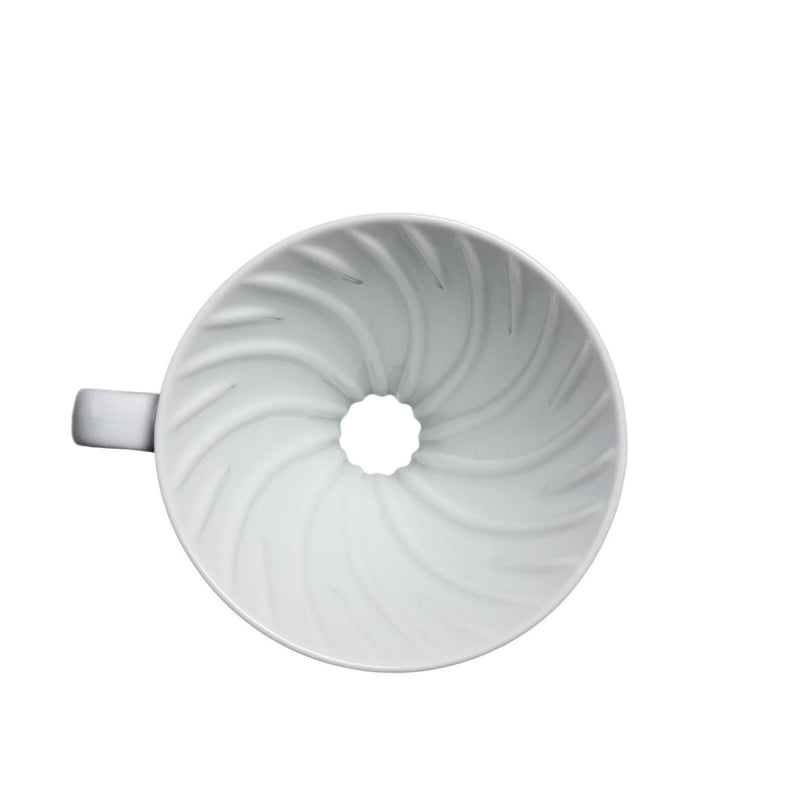
The V60 is iconic for a reason. It offers high clarity and a lot of control, but it can be slightly less forgiving for total beginners because pouring technique affects the result more.
Best for: curious beginners who want to learn technique and grow with one brewer.
Kalita Wave
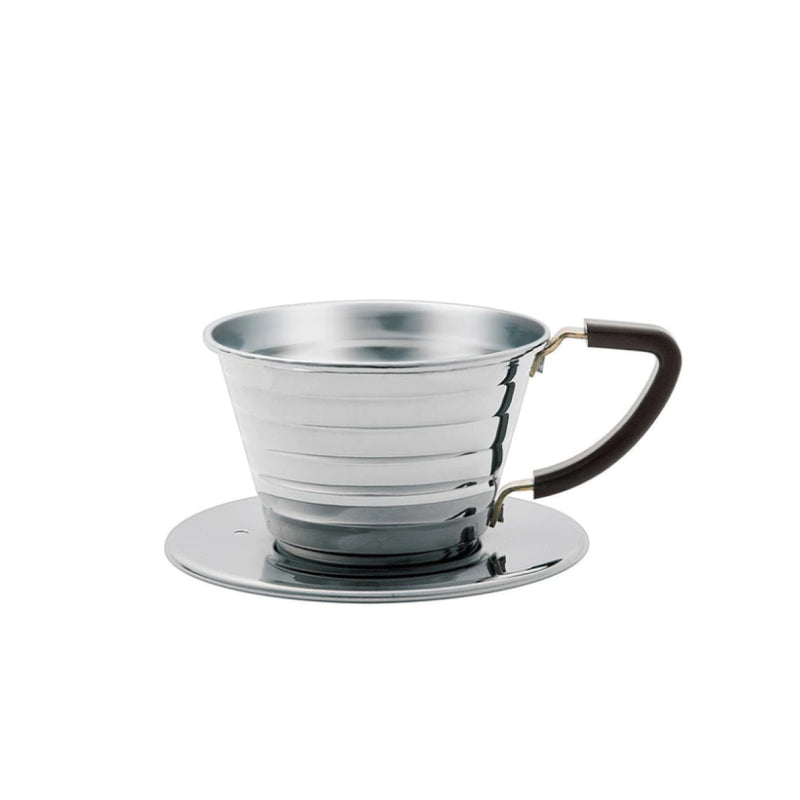
The Kalita Wave’s flat-bottom design tends to be more forgiving and easier to brew consistently with early on.
Best for: beginners who want easier repeatability and less sensitivity to small pouring mistakes.
Why a gooseneck kettle matters more than beginners think
Many competitor guides mention kettles, but they often understate how important this one tool is. For beginners, the kettle can make or break confidence.
A proper gooseneck kettle helps you:
pour slowly and steadily
target the coffee bed more accurately
avoid flooding the filter
control agitation more intentionally
repeat the same brew more easily
That’s exactly why a precision kettle is one of the smartest first upgrades. Cocinare’s electric gooseneck kettles are designed around that experience: accurate flow control, premium build quality, elegant silhouettes, and a design language that elevates the whole brew ritual. If your kitchen aesthetics matter as much as your extraction, that combination is hard to beat.
And beyond looks, practical perks matter too: free U.S. shipping, up to an 18-month hassle-free warranty, and a 30-day money-back guarantee make it easier to invest with confidence.
The simplest pour-over recipe for beginners
If you want one easy starting point, use this.
Beginner brew recipe
Variable |
Recommendation |
|---|---|
Coffee dose |
20 grams |
Water |
320 grams |
Ratio |
1:16 |
Grind size |
Medium to medium-fine |
Water temperature |
200–205°F |
Bloom |
60 grams for 30–45 seconds |
Total brew time |
2:45 to 3:30 |
This recipe is approachable, balanced, and easy to repeat.
Step-by-step: how to make your first pour-over
1. Heat your water
Bring fresh filtered water to about 200–205°F. If you don’t have temperature control, bring it just off boil and let it rest briefly.
"Optimal coffee brewing temperature is typically between 195°F and 205°F (90°C to 96°C)." - ScienceDirect
2. Rinse the paper filter
Place the filter in your dripper and rinse it with hot water. This helps remove paper taste and preheats the brewer and mug or server.
Then discard the rinse water.
3. Grind your coffee
Grind 20 grams of coffee to a medium or medium-fine texture. Think slightly finer than table salt, depending on the brewer.
"Coffee begins to lose its freshness almost instantly after grinding, leading to diminished taste quality." - Knoxville Brew
That’s why grinding just before brewing makes such a noticeable difference.
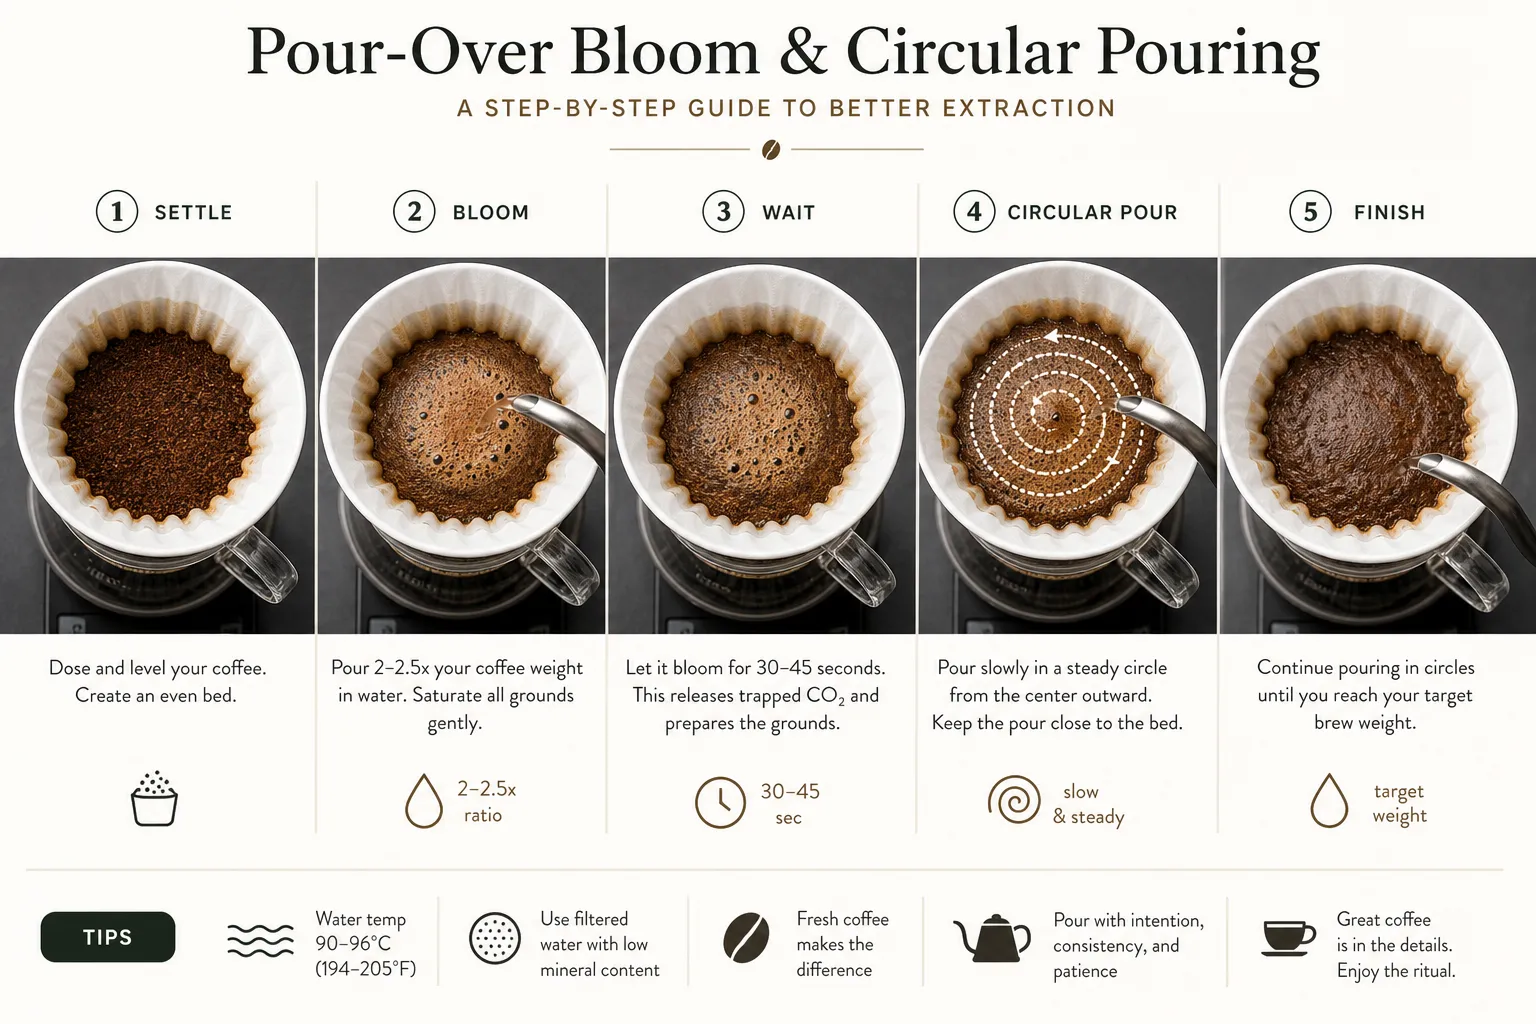
4. Add coffee and level the bed
Put the ground coffee into the filter and gently shake or tap the dripper so the bed is flat. An even bed promotes even extraction.
5. Bloom the coffee
Start your timer and pour 60 grams of water slowly over the grounds, making sure all the coffee gets wet. Wait 30 to 45 seconds.
This blooming stage allows trapped gas to escape so the rest of the brew extracts more evenly.
6. Continue pouring in controlled stages
Pour the remaining water slowly in 2 or 3 rounds until you reach 320 grams total. Aim for smooth circular pours, starting near the center and moving outward, but avoid pouring hard against the paper walls.
7. Let it draw down
Once all the water is in, let the coffee finish dripping. Total brew time should usually land somewhere between 2:45 and 3:30.
8. Taste before changing anything
Before adjusting your next brew, taste the cup thoughtfully. Is it sour? Bitter? Thin? Dry? Sweet? This is how you learn what to change.
Grind size made simple
Grind size is one of the most important variables in pour-over coffee for beginners.
If your coffee tastes sour or weak
Your grind may be too coarse. Water passed through too quickly and under-extracted the coffee.
Try grinding a little finer.
If your coffee tastes bitter or harsh
Your grind may be too fine. Water stayed in contact too long and over-extracted the coffee.
Try grinding a little coarser.
Quick taste guide
Taste issue |
Likely problem |
What to change |
|---|---|---|
Sour, sharp, watery |
Under-extracted |
Grind finer |
Bitter, dry, heavy |
Over-extracted |
Grind coarser |
Flat, dull |
Coffee may be stale |
Use fresher beans |
Inconsistent cup |
Uneven pouring or poor grinder |
Improve technique or grinder |
Water temperature without the confusion
Beginners often hear conflicting advice about temperature. Keep it simple:
Light roasts: 200–205°F
Medium roasts: 195–205°F
Dark roasts: 190–200°F
Hotter water extracts more quickly. Cooler water extracts less. If you’re just starting out, staying near 200–205°F is a dependable place to begin.
A variable-temperature electric kettle makes this dramatically easier. Instead of guessing, you set the temperature and focus on technique. This is one of the biggest quality-of-life upgrades for new brewers - and one of the reasons Cocinare kettles fit so naturally into a serious home coffee setup.
Pouring technique for beginners
You do not need barista-level choreography. You just need a few simple habits.
Aim for steady, gentle pours
Avoid dumping water in too fast. Slow, controlled pouring keeps the slurry stable and reduces channeling.
Pour mostly on the coffee, not the paper
Try to saturate the grounds rather than washing water directly down the filter edges.
Use small circles
A gentle circular motion helps saturate the bed evenly. Don’t worry about making it perfect.
Keep the water level stable
Try not to let the brewer flood too high or drain completely dry between pours.
The most common beginner mistakes
Competitor articles usually mention grind and temperature, but many gloss over how small technique issues combine. Here are the mistakes that matter most.
1. Using stale coffee
Fresh beans make everything easier. If your coffee is old, no amount of pouring precision will fully rescue it.
2. Skipping the scale
Eyeballing coffee and water creates inconsistency. A scale turns guesswork into repeatability.
3. Using a blade grinder
Blade grinders create uneven particles, which means some grounds over-extract while others under-extract.
4. Pouring too aggressively
Fast pouring can disturb the bed, create uneven extraction, and make brews taste muddled.
5. Ignoring brew time completely
You don’t need to obsess over seconds, but an extremely fast or slow brew is a clue that something needs adjusting.
6. Changing too many variables at once
If a cup tastes off, adjust one thing first - usually grind size - before changing temperature, ratio, and technique all together.
7. Buying gear that works poorly or feels uninspiring
A neglected content gap in many guides is that the feel of your tools affects whether you keep brewing. Beautiful, durable equipment invites consistency. If your kettle feels awkward or looks like an afterthought, the ritual can feel like a chore. If it feels precise and looks stunning on your counter, you’re much more likely to use it daily.
A simple brew troubleshooting guide
If your brew finishes in under 2:30
Grind finer
Pour a little slower
Check that your dose is correct
If your brew takes over 4:00
Grind coarser
Pour a little more steadily
Make sure the filter is draining properly
If the coffee tastes too intense
Add a bit more water
Use a slightly coarser grind
Lower the dose a touch
If the coffee tastes too weak
Use a little more coffee
Grind slightly finer
Improve saturation during bloom
How to choose coffee for your first pour-over
If you’re brand new, don’t start with the most extreme roast profile you can find. Choose a coffee that’s easy to understand in the cup.
Good beginner flavor profiles
chocolate and caramel
nuts and brown sugar
soft fruit notes
balanced medium roasts
approachable light-medium roasts
Very dark roasts can taste bitter in pour-over. Ultra-bright coffees can be amazing, but they may be harder for beginners to dial in at first.
A beginner-friendly brew workflow you can repeat every day
Here’s a simple routine worth saving:
Heat filtered water to 200–205°F
Rinse filter
Grind 20g coffee
Add coffee and level bed
Bloom with 60g water for 30–45 seconds
Pour remaining water to 320g in 2–3 rounds
Finish around 2:45–3:30
Taste and adjust next time
Consistency builds confidence faster than complexity.
Pour-over gear should perform beautifully and look beautiful too
Coffee gear lives in your kitchen, not a lab. That means the best tools should deliver both function and presence.
Cocinare stands out here because it treats the kettle as both a precision instrument and a design object. Whether your style leans minimal, expressive, artistic, or collectible, the brand’s multiple collections make it easier to find a piece that suits your lifestyle. From the refined Artisan Collection to more distinctive visual options like the Color-changing Collection and limited-edition collaborations, Cocinare helps transform brewing from routine into ritual.
That matters for gifting, too. If you’re shopping for a coffee lover who cares about both flavor and form, a premium electric gooseneck kettle is one of the rare gifts that feels useful, elevated, and display-worthy at once.
Final thoughts: the easiest way to start strong
Pour-over coffee for beginners becomes simple when you focus on the essentials: fresh coffee, a good ratio, the right grind, hot water, and a controlled pour. You don’t need to master everything on day one. You only need a clear starting recipe and tools that help you repeat it.
If you want to make the learning curve smoother, invest in the piece of gear that improves both precision and enjoyment the most: a thoughtfully designed gooseneck kettle. Cocinare makes that choice especially compelling with premium craftsmanship, precision pouring, modern design, artistic personality, free U.S. shipping, up to 18 months of hassle-free warranty coverage, and a 30-day money-back guarantee.
For beginners who want better coffee and a better ritual, it’s a smart place to start.
FAQ
What is the easiest pourover method?
The easiest pourover method for most beginners is a forgiving dripper like the Kalita Wave, paired with a simple 1:16 recipe. Its flat-bottom design tends to produce more consistent results with less sensitivity to small pouring mistakes.
What is the best pour-over coffee for beginners?
The best coffee for beginners is usually a fresh, balanced medium roast with notes like chocolate, caramel, or nuts. These coffees are easier to dial in and tend to taste pleasant even while you are still refining your grind and pouring technique.
How to make pour-over coffee for beginners?
Start with 20 grams of coffee and 320 grams of water, using a medium to medium-fine grind and water around 200–205°F. Bloom with 60 grams of water for 30–45 seconds, then pour the rest slowly in 2–3 rounds until your brew finishes in about 2:45 to 3:30.
What are common mistakes in pour-over coffee?
Common mistakes include using stale coffee, skipping the scale, grinding too fine or too coarse, and pouring too aggressively. Many beginners also change too many variables at once, which makes it harder to learn what actually improved or hurt the cup.
Share:
Electric Pour Over Kettle: Best Picks for 2026
Cuisinart Tea Kettle Electric: Is It Worth It?