

Coffee Grind Size for Pour Over Guide
If your pour-over tastes flat, sour, bitter, or strangely hollow, the problem often starts with one variable: grind size. For home brewers, mastering coffee grind size for pour over is the fastest way to unlock sweeter cups, cleaner flavor separation, and better consistency - without constantly changing your beans, ratio, or recipe.
The challenge is that “medium-fine” means almost nothing in real life. A V60, Kalita Wave, and Chemex don’t behave the same way. Roast level changes extraction. Filter thickness changes flow. Even your pouring style changes how a grind behaves. That’s why this guide goes beyond vague grind labels and shows you how to actually dial in your cup with confidence.
For design-conscious home brewers, the ritual matters too. Precision is not only about the grinder - it’s also about how you pour. A controlled gooseneck kettle helps you manage agitation, flow rate, and contact time more accurately, which makes grind adjustments far more meaningful. That’s exactly why Cocinare designs premium electric kettles for modern coffee lovers who want barista-level control wrapped in a beautifully crafted, design-forward object they’ll love keeping on the counter.
Why Grind Size Matters So Much in Pour Over
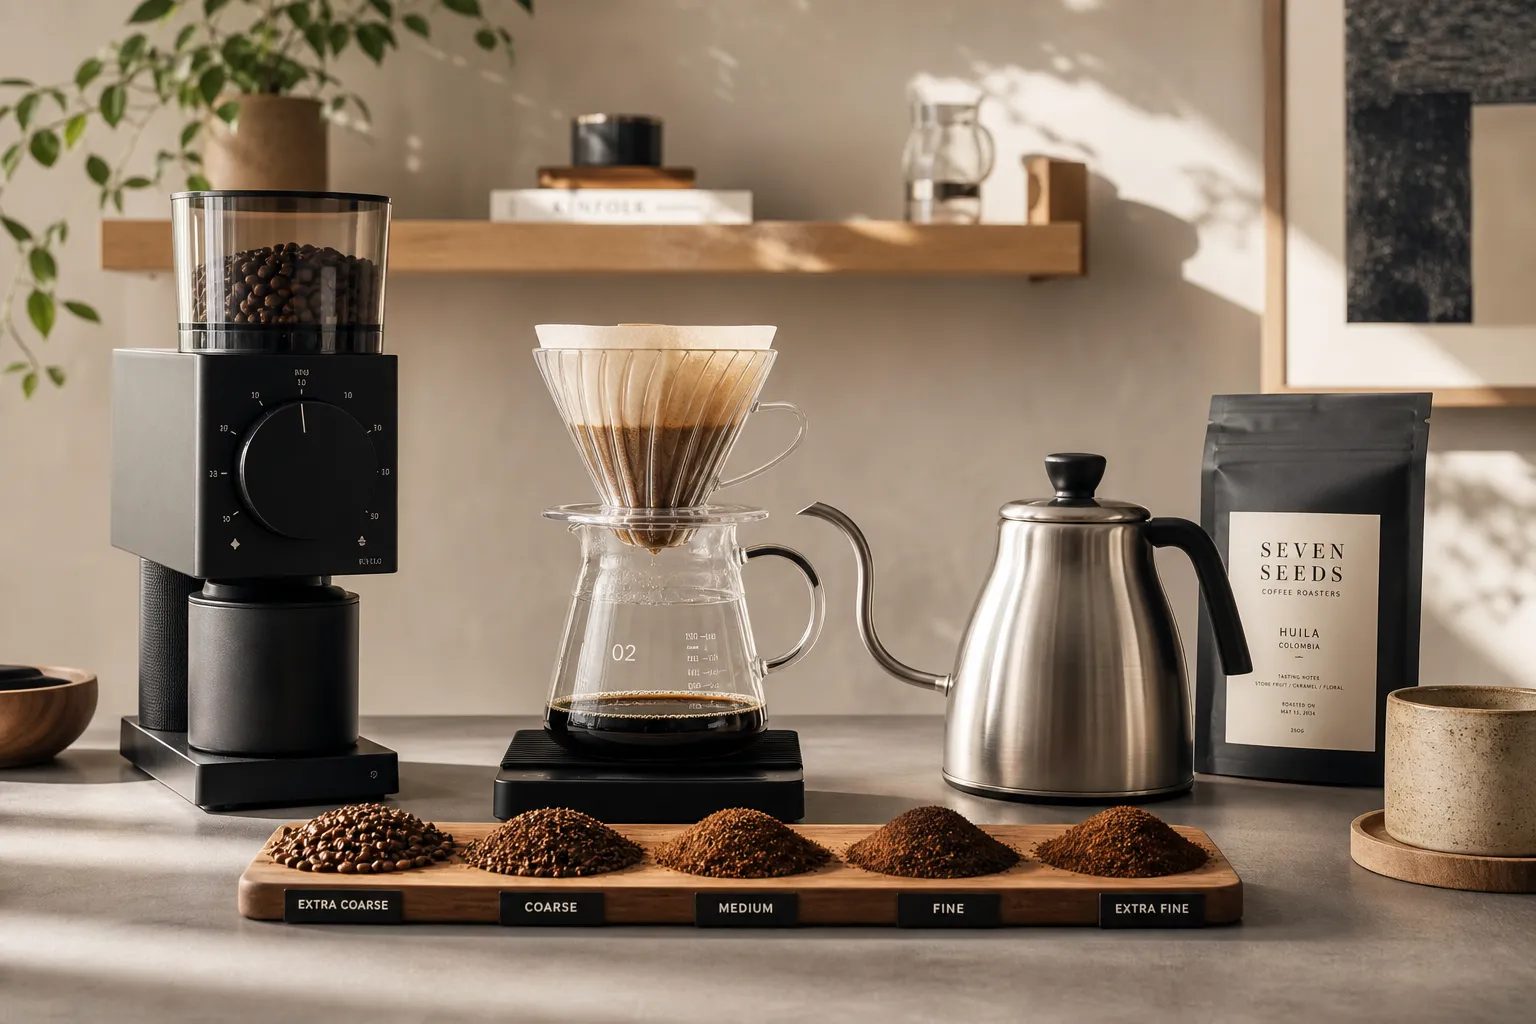
Pour-over is a percolation brew method, which means water passes through the bed of coffee rather than simply steeping in it. Because the water is always moving, particle size has an outsized effect on both extraction and flow rate.
A finer grind does two things:
Increases surface area, making coffee extract faster
Slows down water flow, increasing contact time
A coarser grind does the opposite:
Reduces surface area, extracting more slowly
Speeds up water flow, reducing contact time
That’s why grind size influences both taste and brew time at the same time. If your coffee is too coarse, water rushes through and under-extracts the grounds. If it’s too fine, the brew can stall and over-extract.
In other words: grind size is not just a texture choice. It is your primary dial for balancing sweetness, acidity, body, and clarity.
"Ground coffee starts losing its aromatic compounds within 45 seconds of grinding." - Spiller & Tait
That’s also why grinding fresh matters so much. Even perfect technique can’t fully rescue stale grounds.
The Ideal Grind Size for Pour Over
For most pour-over brewers, the sweet spot sits somewhere between medium-fine and medium-coarse. That range sounds broad because it is - different brewers and recipes need different resistance.
A practical way to think about it:
Brewer Type |
Best Starting Point |
Texture Comparison |
|---|---|---|
V60 / conical drippers |
Medium-fine to medium |
Fine sand |
Kalita Wave / flat-bottom drippers |
Medium |
Regular sand |
Orea / faster flat-bottom brewers |
Medium-fine to medium |
Slightly finer sand |
Chemex |
Medium-coarse to coarse |
Coarse sand |
If you’re just starting, avoid going too fine. Many beginners assume finer equals better extraction, but in pour-over it often leads to clogging, bitterness, and muddy cups.
What “Medium-Fine” Actually Looks Like
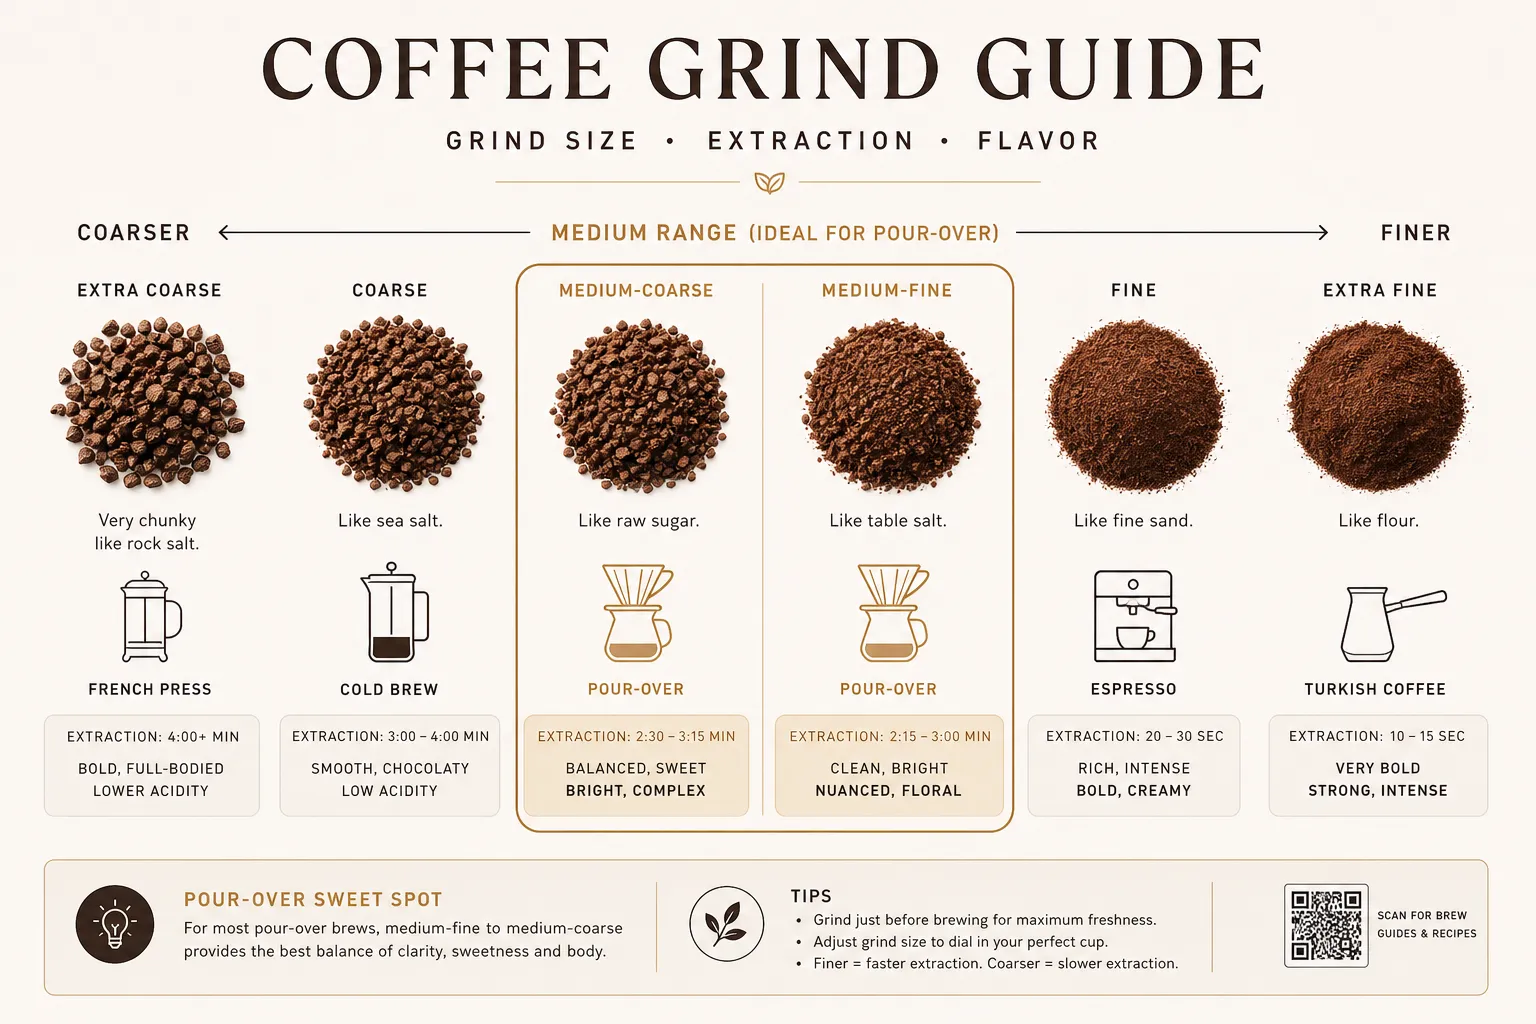
One of the biggest frustrations in home brewing is that grind language is inconsistent. One brand’s “medium” may be another brand’s “medium-fine.” That’s why visual and sensory cues are more helpful than labels alone.
A good pour-over grind should feel like:
Slightly gritty, not powdery
More refined than French press
Less powdery than espresso
Fairly uniform, without too many dusty fines
If your grounds look fluffy with visible dust, they may be too fine. If they look chunky and uneven, they may be too coarse - or your grinder may not be producing a tight particle distribution.
Grind Size Distribution: The Hidden Variable Most Guides Skip
Most basic guides talk only about “finer” or “coarser.” Better brewers know that distribution matters just as much as average particle size.
When you grind coffee, you don’t get perfectly identical particles. You get a range:
Fines: tiny particles that extract very quickly
Boulders: large particles that extract slowly
Too many fines can cause:
Bitterness
Dry, astringent finish
Slow or stalled drawdown
Muddy clarity
Too many boulders can cause:
Sourness
Weak body
Hollow flavor
Uneven extraction
This is why two brews with the same “setting” can taste wildly different if one grinder is more consistent than the other.
"Burr grinders produce a more uniform grind size compared to blade grinders." - Barista Hustle
For serious pour-over brewing, a burr grinder is essential. And to get the full benefit of a better grind, pair it with precise pouring. A beautifully balanced kettle like those from Cocinare helps you pour gently and accurately, reducing unnecessary agitation that can push fines downward and clog the filter.
How Grind Size Affects Taste
If you can connect taste to grind size, dial-in becomes simple.
If Your Pour Over Tastes Sour
Sour cups are usually under-extracted. The grind is often too coarse, which lets water pass through too quickly before it dissolves enough sweetness.
Common signs:
Sharp acidity
Thin body
Fast drawdown
Hollow finish
What to do:
Grind slightly finer
Keep everything else the same
Re-brew and compare
If Your Pour Over Tastes Bitter
Bitter cups are usually over-extracted or stalled. The grind may be too fine, especially if the filter drains slowly.
Common signs:
Harsh finish
Dry mouthfeel
Sluggish drawdown
Flat, heavy cup
What to do:
Grind slightly coarser
Avoid over-agitating the bed
Keep pour height and flow more controlled
If Your Cup Tastes Both Sour and Bitter
This often points to uneven extraction, usually caused by poor grind distribution or inconsistent pouring. Fines over-extract while boulders under-extract.
What to do:
Improve grinder consistency if possible
Pour more evenly
Use a controlled gooseneck stream
Adjust grind one step coarser if the brew is also stalling
Brew Time: Important, but Not the Goal
A lot of brewers obsess over total brew time. Timing is useful, but it is not the final judge of a good cup. Flavor is.
As a rough guide:
Brewer |
Typical Brew Time |
|---|---|
V60 |
2:30–3:30 |
Kalita Wave |
2:45–3:45 |
Orea |
2:15–3:15 |
Chemex |
3:30–5:00 |
But some coffees naturally run longer, especially:
Dense light roasts
Washed coffees
Coffees that produce more fines
A five-minute brew is not automatically wrong if it tastes vibrant, sweet, and clean. A three-minute brew is not automatically right if it tastes weak and sour.
How to Tell If Your Brew Is Stalling
A naturally slow brew and a stalled brew are not the same thing.
A naturally slow brew looks like:
Steady flow throughout
Consistent drawdown
No large pool of water sitting on top
Clean, expressive flavor
A stalled brew looks like:
Water pooling above the bed
Drawdown slowing dramatically near the end
Sludgy bed
Bitter, muddy, drying cup
If your brew is stalling, the first fix is usually to grind slightly coarser. Also check your pouring technique. Aggressive swirling, hard center pours, or too much agitation can force fines into the bottom of the filter.
Grind Size by Brewer
Not all pour-over drippers want the same grind. Geometry and filter design change everything.
V60
The V60 is conical, fast-flowing, and highly sensitive to technique.
Best starting range:
Medium-fine to medium
Why:
The deep coffee bed can extract beautifully
Too fine can cause choking
Too coarse can taste thin and sharp
Tips:
Pour gently and with intention
Watch flow, not just the timer
Great kettle control matters here more than almost anywhere
If you love the V60 ritual, Cocinare’s precision-focused kettles are especially relevant. A steady, accurate stream helps you center the pour, limit turbulence, and build better repeatability cup after cup.
Kalita Wave
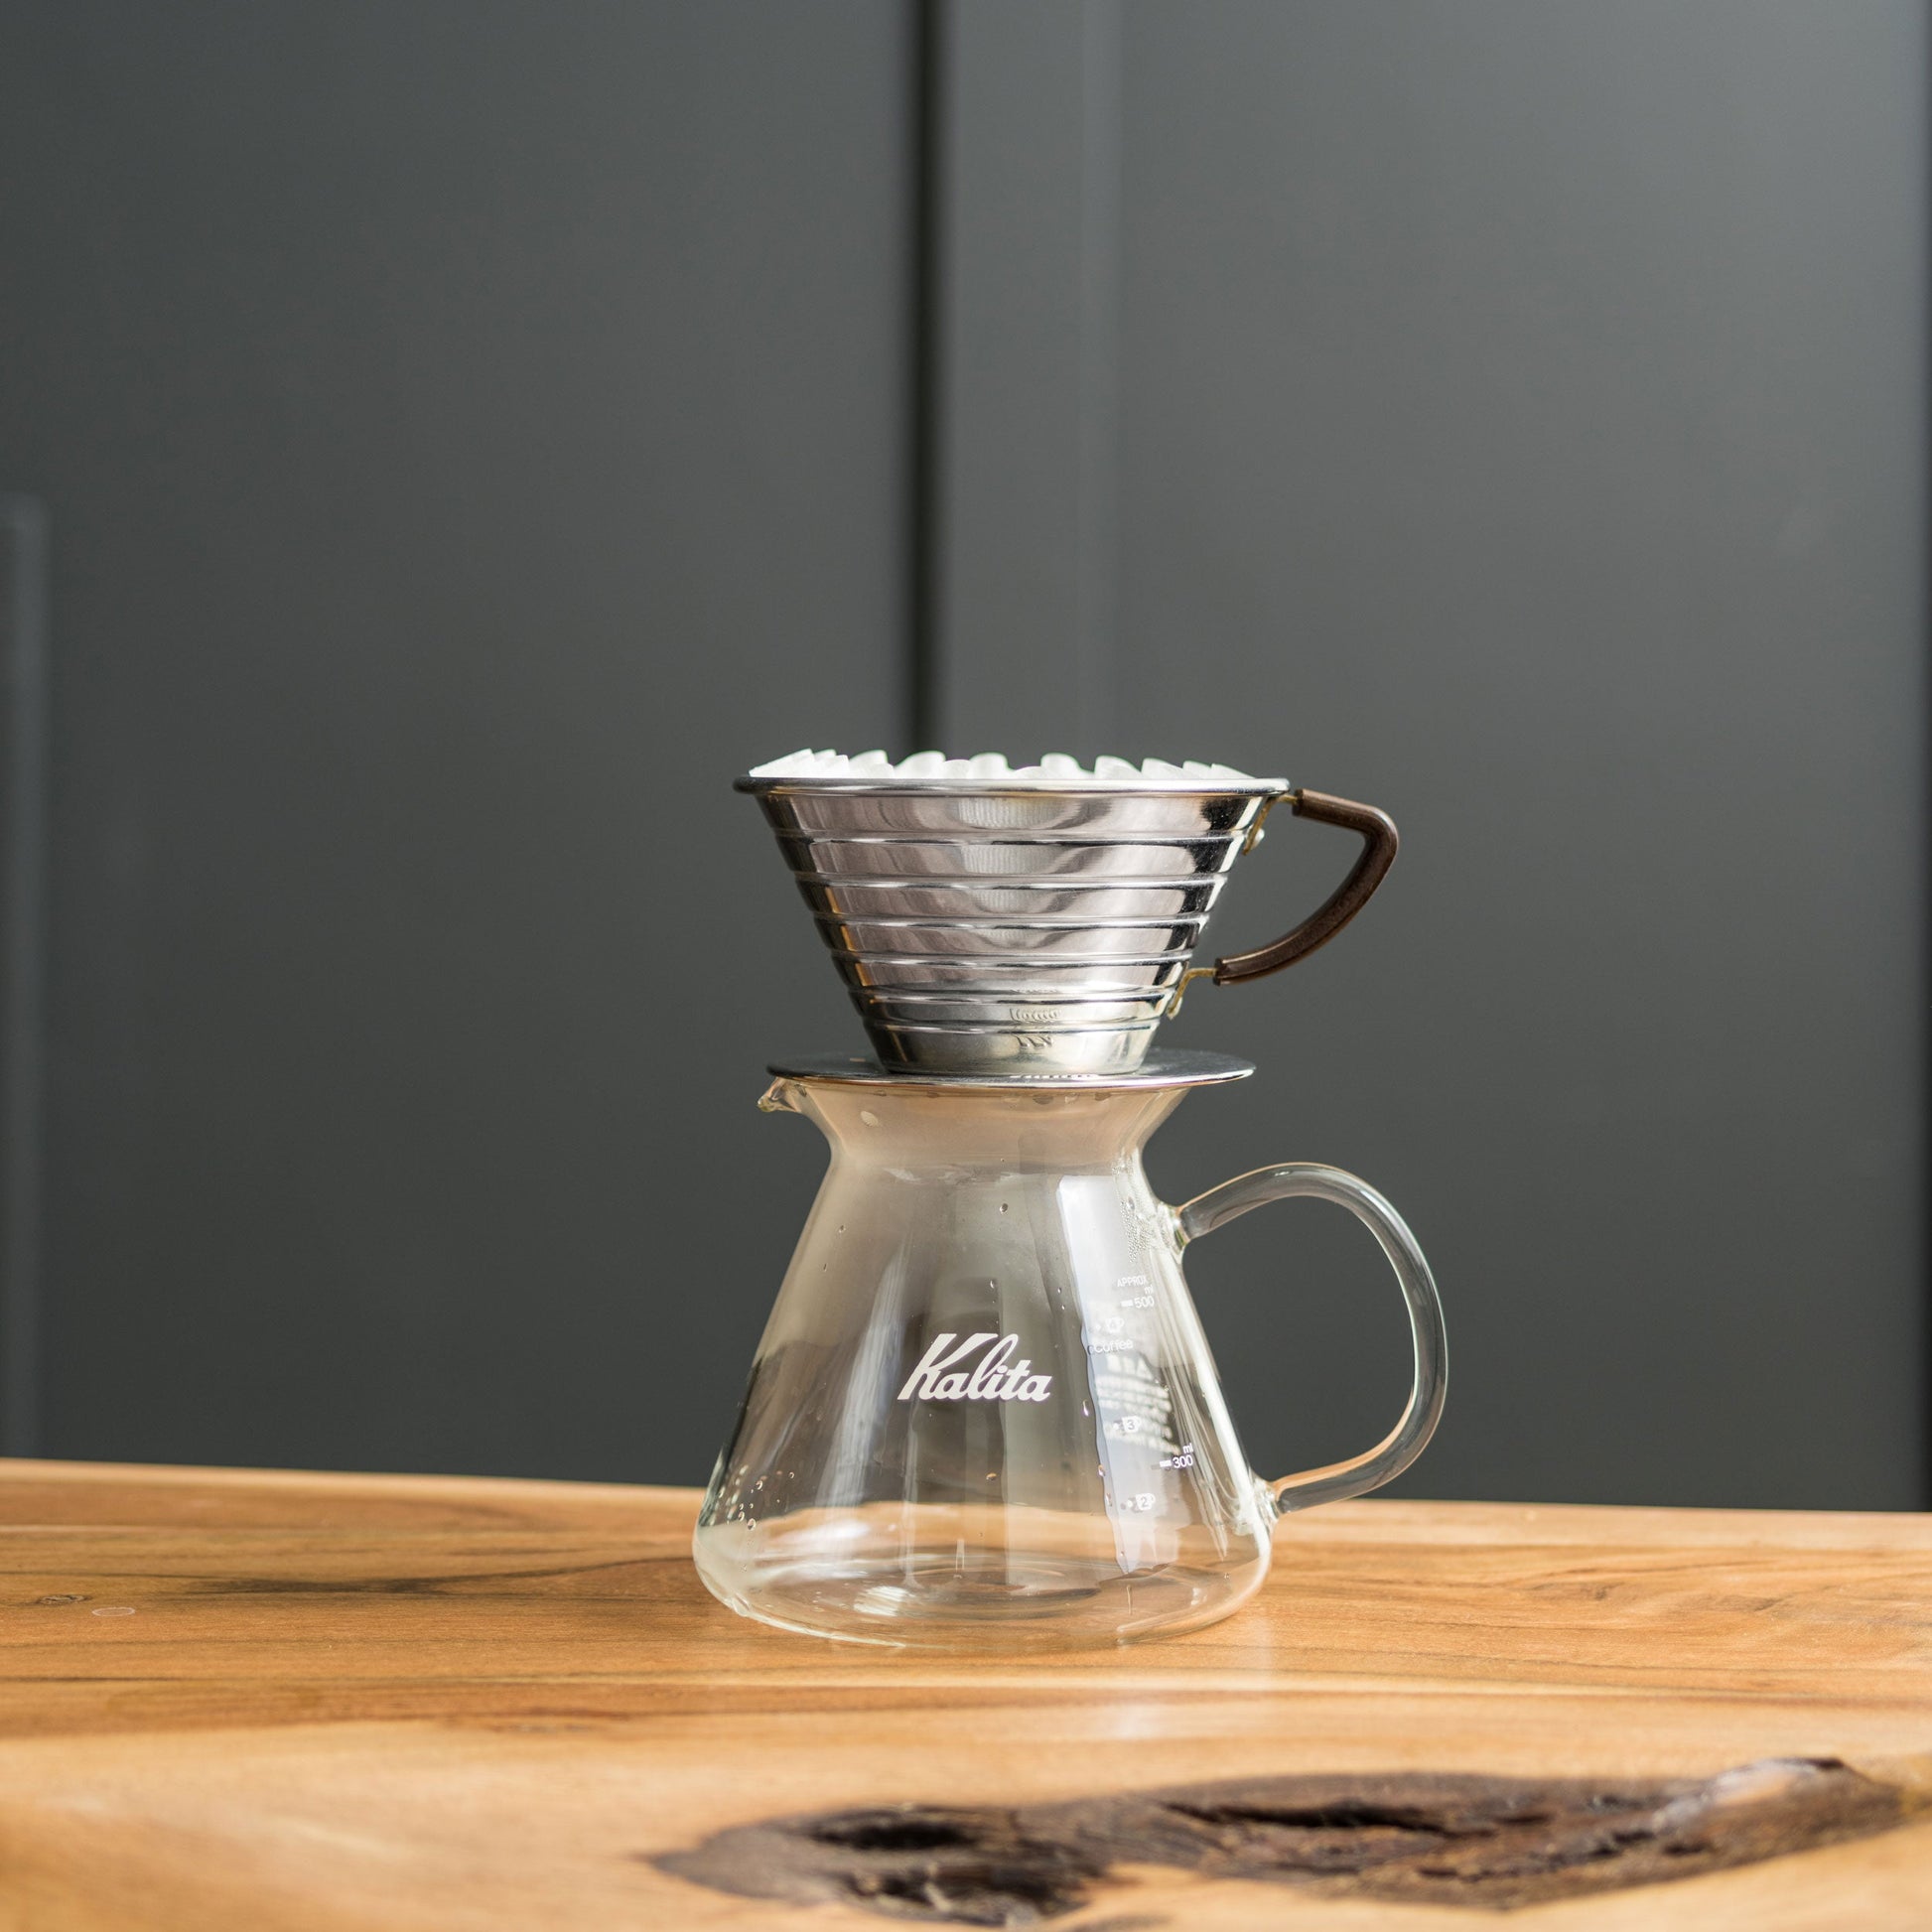
The Kalita Wave uses a flat-bottom bed and more restricted filter.
Best starting range:
Medium
Why:
The flat bed encourages even extraction
The filter slows flow a bit more than a V60
Grinding too fine can make it taste heavy or muddy
Tips:
Great for brewers who want consistency
Often easier to dial in than conical brewers
Chemex
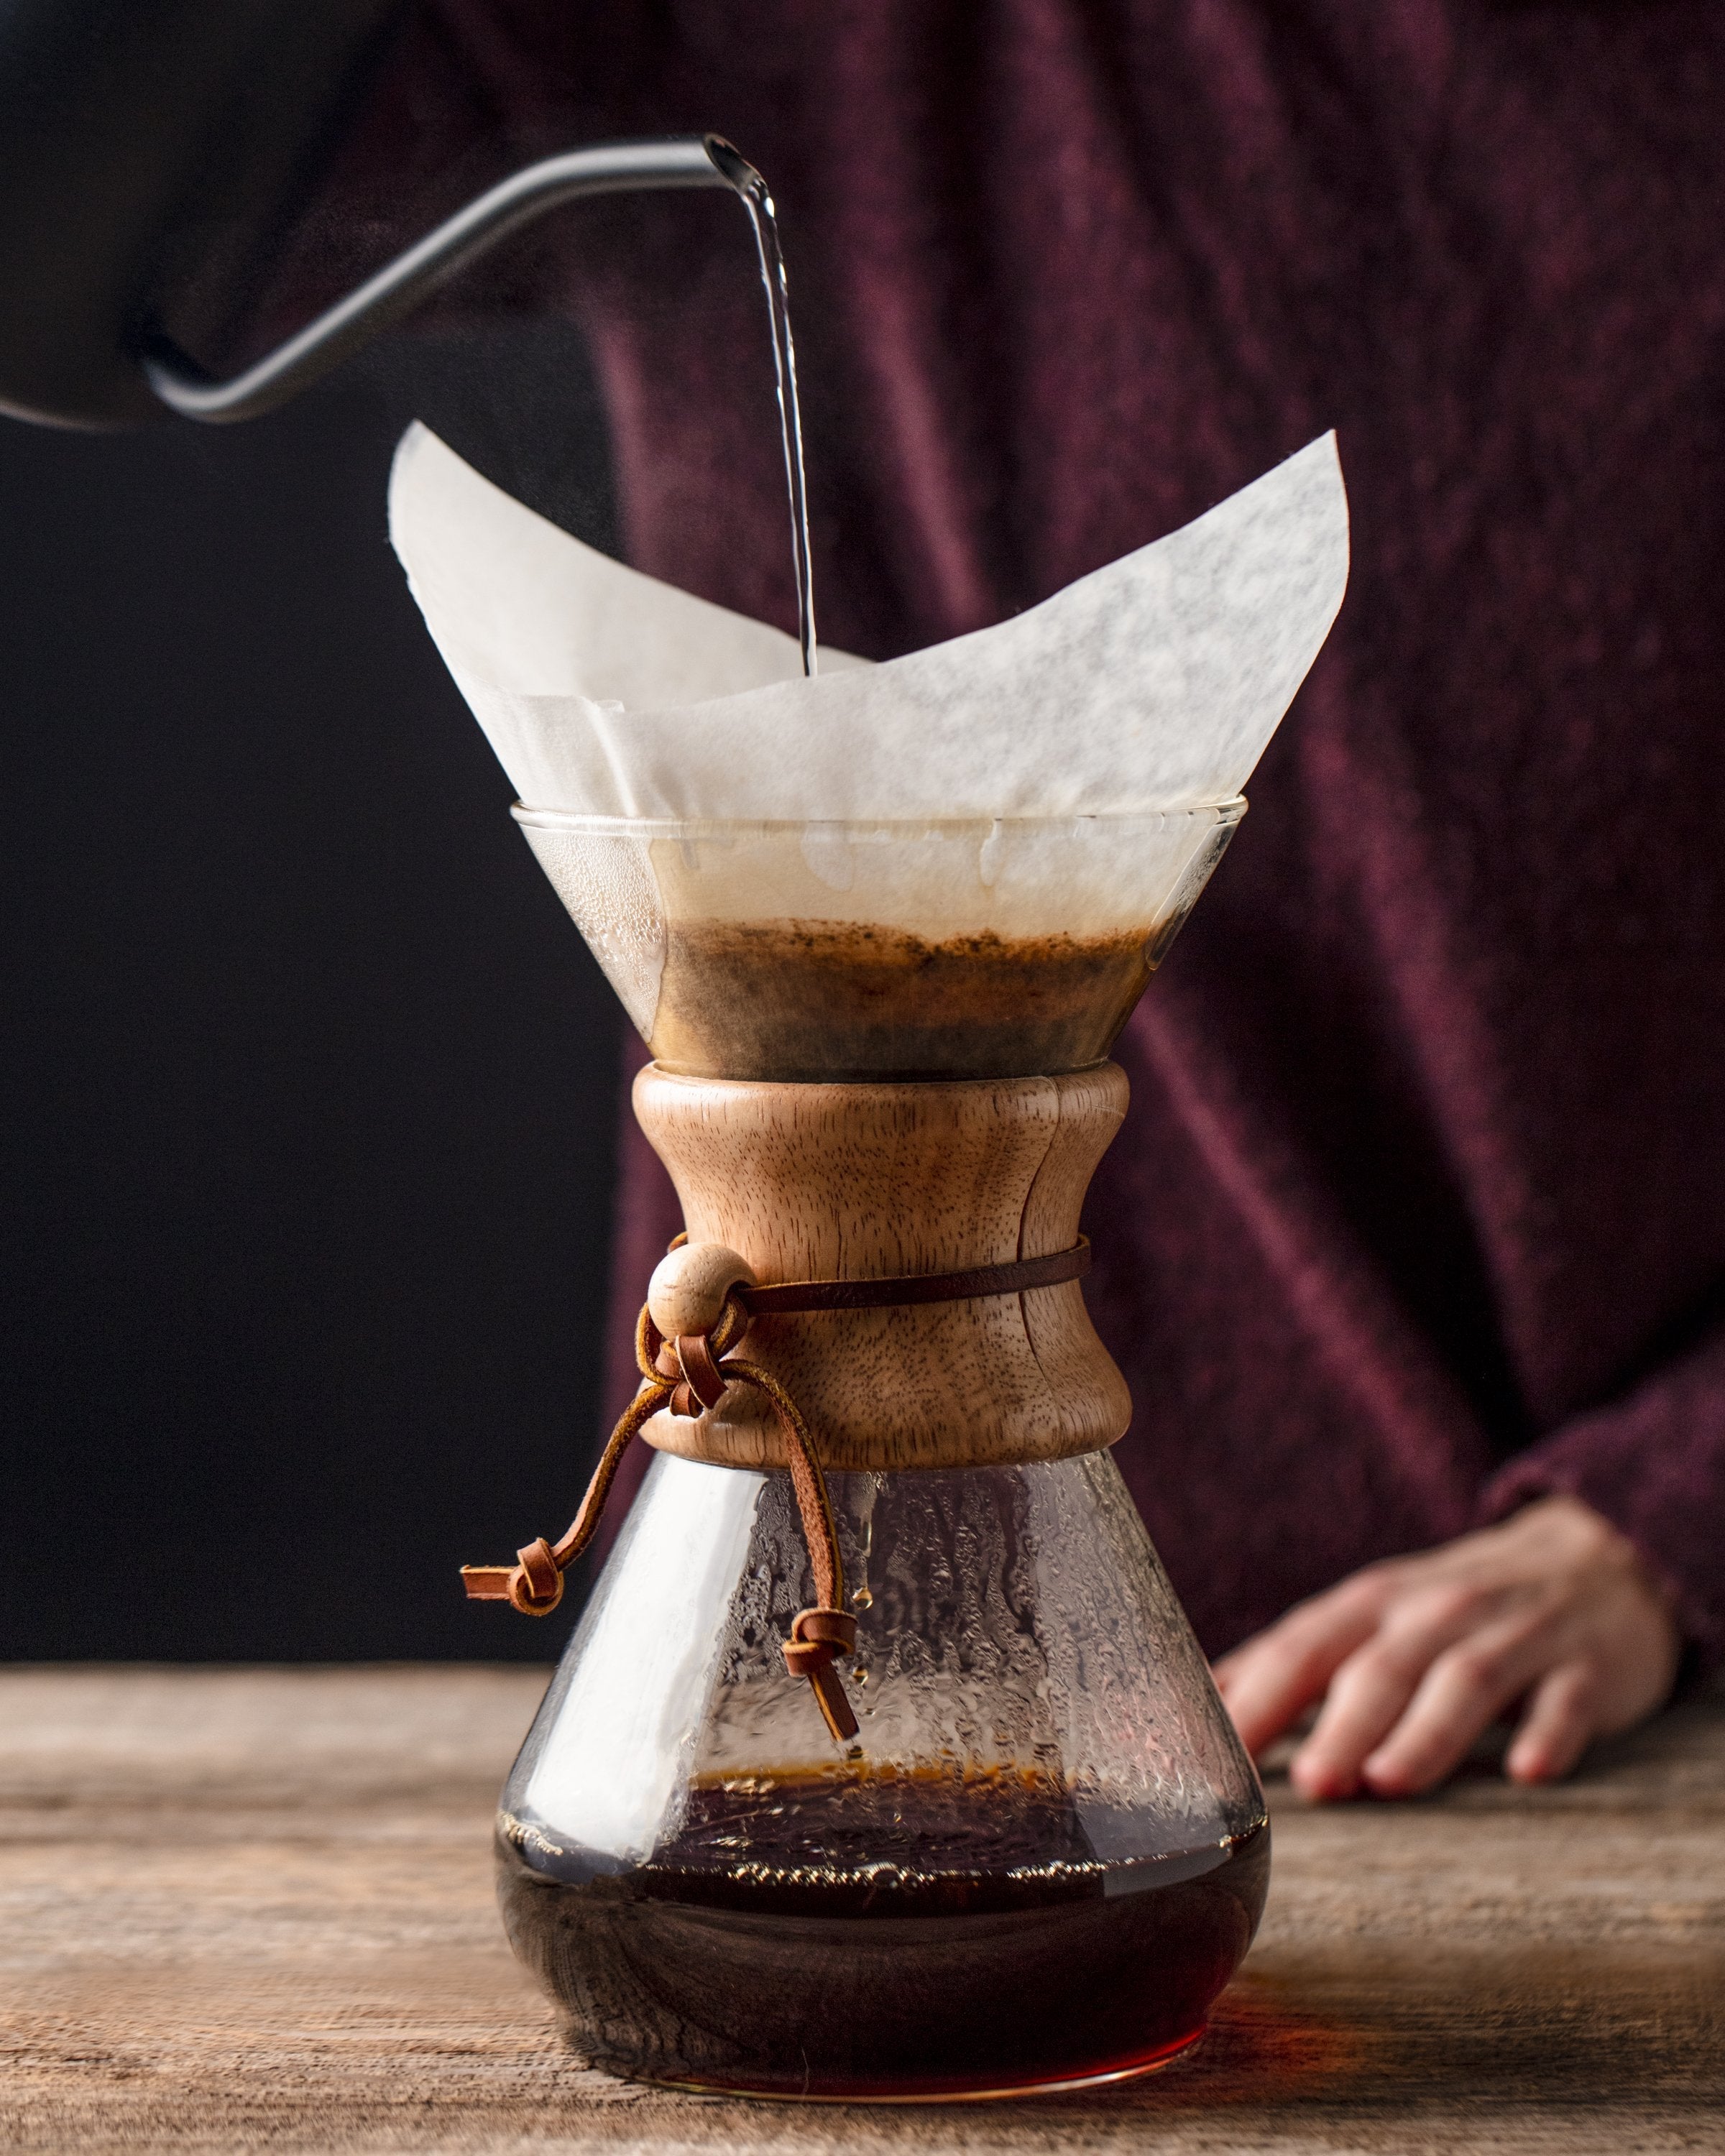
The Chemex uses thick paper filters that create a very clean cup and slow the brew significantly.
Best starting range:
Medium-coarse to coarse
Why:
Thick filters add major resistance
Fine grounds can easily clog the brew
Coarser grinds preserve clarity and keep drawdown moving
Tips:
Don’t chase higher extraction by grinding too fine
Prioritize cleanliness and structure over heaviness
Fast Flat-Bottom Brewers
Brewers like the Orea often run faster and can tolerate slightly finer grinds.
Best starting range:
Medium-fine to medium
Why:
Faster flow allows more extraction without stalling
Excellent for high-clarity recipes
Tips:
Fine adjustments matter a lot here
A precise kettle makes pulse pours much easier to repeat
A Simple Dial-In Method That Actually Works
If you’re working with a new coffee, use this process.
Step 1: Start with a trusted baseline
A good starting recipe:
20 g coffee
340 g water
1:17 ratio
Water just off boil for light to medium roasts
Medium grind
30–45 second bloom
Step 2: Taste before changing anything
Ask:
Is it sour and thin?
Bitter and drying?
Balanced but muted?
Sweet and clear?
Step 3: Change only the grind
Do not change ratio, water temperature, and technique at the same time.
Instead:
Sour = go slightly finer
Bitter = go slightly coarser
Muddy = go slightly coarser and pour more gently
Weak = go slightly finer or slightly increase dose
Step 4: Repeat in small steps
Small changes are everything. One or two clicks on a hand grinder may be enough.
Common Grind Size Mistakes
Using blade grinders
Blade grinders create wide particle distributions that make consistency difficult. You can still brew with them, but it becomes harder to dial in balanced cups.
Chasing brew time instead of taste
Time is a clue, not a verdict. Adjust based on the cup first.
Changing multiple variables at once
If you change grind, ratio, and pouring structure together, you learn nothing from the result.
Ignoring roast level
Lighter roasts are denser and often need slightly finer grinding. Darker roasts are more brittle and usually prefer slightly coarser settings.
Pouring too aggressively
Even with the right grind, rough pouring can create channeling and stall the brew. Precision pouring is one of the easiest upgrades for home brewers who want more repeatable results.
That’s part of Cocinare’s appeal: the brand doesn’t treat the kettle as just another appliance. It’s a core brewing tool - built for control, crafted for durability, and styled to elevate the whole ritual. Whether you lean minimal, expressive, or artistic, Cocinare’s Artisan Collection, Color-changing Collection, and limited-edition Collab Collection let your gear feel personal as well as high-performing.
Recommended Starting Points by Coffee Style
Coffee Style |
Suggested Grind Direction |
Why |
|---|---|---|
Light roast washed Ethiopia |
Slightly finer |
Dense beans, bright profile, needs more extraction |
Medium roast Colombia |
Medium baseline |
Usually balanced and forgiving |
Natural process coffee |
Slightly coarser |
Can extract heavily and taste boozy or muddy if too fine |
Dark roast blend |
Slightly coarser |
Easier to over-extract |
High-altitude dense coffee |
Slightly finer |
Slower to give up solubles |
These are not rigid rules, but they’re excellent starting points.
The Role of Your Kettle in Grind Size Control
Most grind guides stop at the grinder. That’s a mistake.
Even if your grind is ideal, poor pouring can undo it. Fast, uneven, or aggressive pours disturb the bed, drive fines downward, and create channeling. A well-designed gooseneck kettle helps you:
Control flow rate
Keep a stable pour height
Target specific zones in the bed
Reduce unnecessary turbulence
Repeat recipes more consistently
For home brewers who care about both performance and aesthetics, Cocinare sits in a sweet spot. The brand’s kettles deliver the control needed for better pour-over coffee while bringing a premium, modern design language that feels intentional in a beautifully curated kitchen. Add in free U.S. shipping, up to an 18-month hassle-free warranty, and a 30-day money-back guarantee, and the upgrade feels practical as well as aspirational.
A Quick Pour Over Grind Cheat Sheet
Problem |
Likely Cause |
First Fix |
|---|---|---|
Sour, sharp, thin |
Grind too coarse |
Go finer |
Bitter, dry, heavy |
Grind too fine |
Go coarser |
Muddy and muted |
Too many fines or over-agitation |
Go coarser, pour gentler |
Fast brew, weak flavor |
Under-extraction |
Go finer |
Slow brew, pooling water |
Stalling |
Go coarser |
Sour and bitter together |
Uneven extraction |
Improve grind consistency and pouring |
Final Thoughts
Mastering coffee grind size for pour over is less about memorizing one “perfect” setting and more about learning a responsive system. Start with a solid baseline, taste carefully, and make small, deliberate adjustments. Over time, you’ll notice how grind, flow, and flavor connect - and that’s when your brewing becomes truly intuitive.
The best home coffee rituals combine precision with pleasure. Fresh coffee, a quality grinder, and thoughtful pouring can transform a routine cup into something expressive and memorable. If you’re ready to refine the process, Cocinare is a natural next step: precision pouring for better extraction, premium durability for everyday use, modern aesthetics worthy of display, and collections that let your brewing setup reflect your taste as much as your technique.
FAQ
What is the golden ratio for pour over coffee?
A reliable starting point is 1:16 to 1:17, meaning 1 gram of coffee for every 16 to 17 grams of water. For most home brewers, this creates a balanced cup with good sweetness, clarity, and body, and you can fine-tune from there based on taste.
How much coffee beans do I grind for 8 oz coffee pour over?
For an 8 oz pour over - about 240 grams of water - start with roughly 14 to 15 grams of whole coffee beans. This lands close to a 1:16 or 1:17 ratio, which is an excellent baseline for balanced extraction.

Share:
Home Coffee Brewers: Best Gear for Better Coffee
Kettle Electric Temperature Control Benefits